If you’re gearing up to make grandma’s buttermilk fried chicken, congratulations! You’re in for a feast. But let’s not forget the sidekicks that can elevate your meal to a delightful spread. Consider pairing it with creamy coleslaw for a refreshing crunch. The cool, creamy texture balances the crispy chicken beautifully.
Corn on the cob is another classic side; slathered in butter, it’s a hit during the summer months. Baked beans can add sweetness and heartiness, complementing the savory profile of the dish.
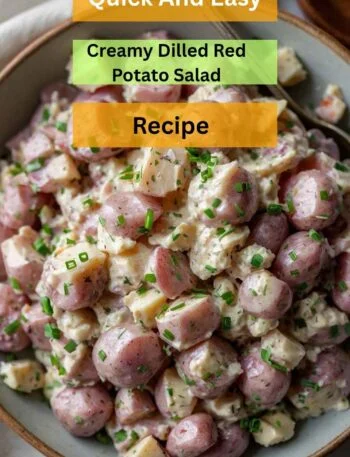
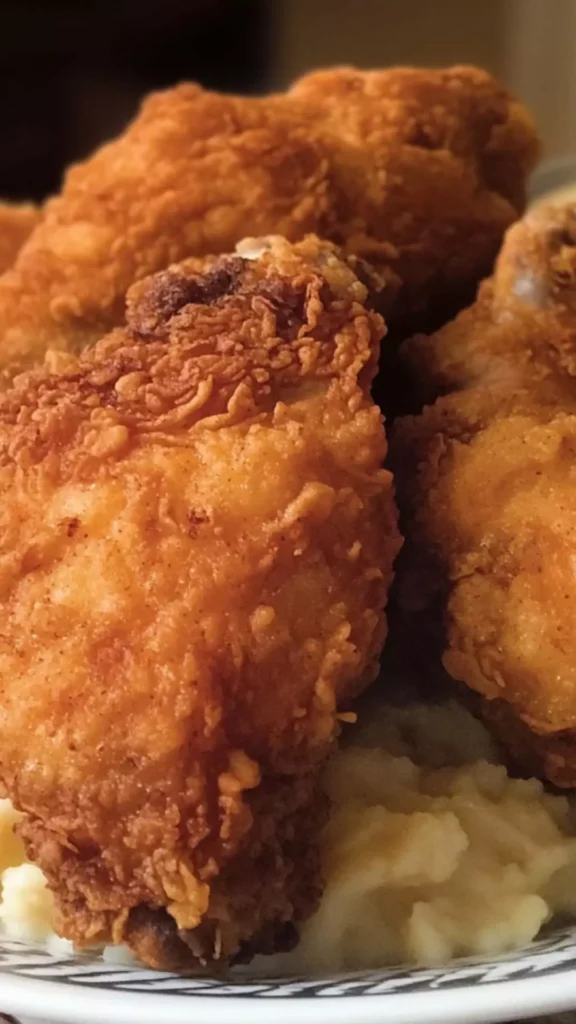
If you’re feeling ambitious, whip up some homemade biscuits. They soak up the chicken’s juices like no other. Lastly, don’t miss out on mashed potatoes or potato salad. They complete the plate, ensuring each bite is a flavor explosion.
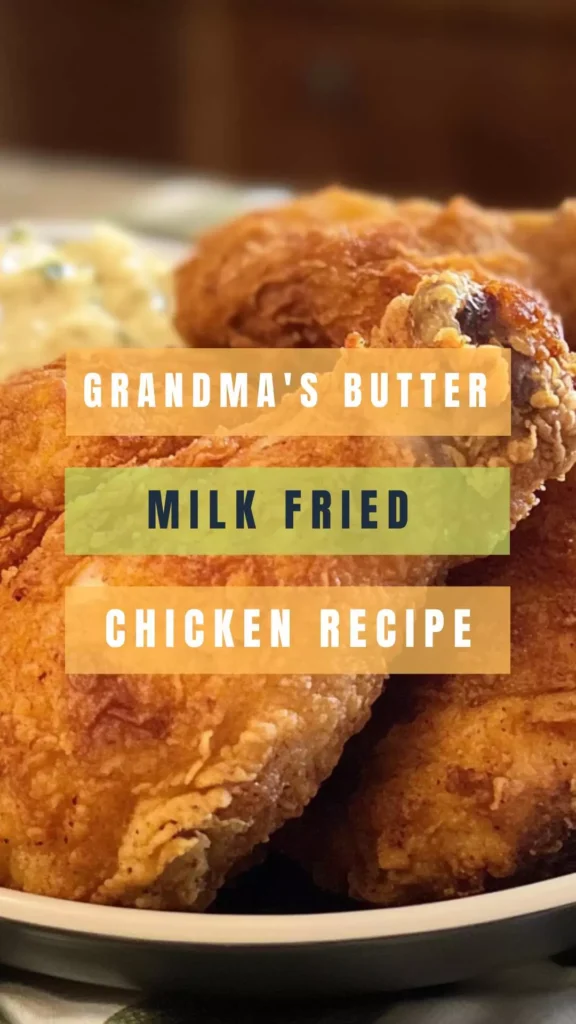
Oh, the scent of buttermilk fried chicken wafting through the house. Just thinking about it brings back memories of my childhood. It reminds me of hot summer days spent at grandma’s house.
There was always a lively atmosphere. Family members gathered around the dinner table, laughter echoing, and stories shared.
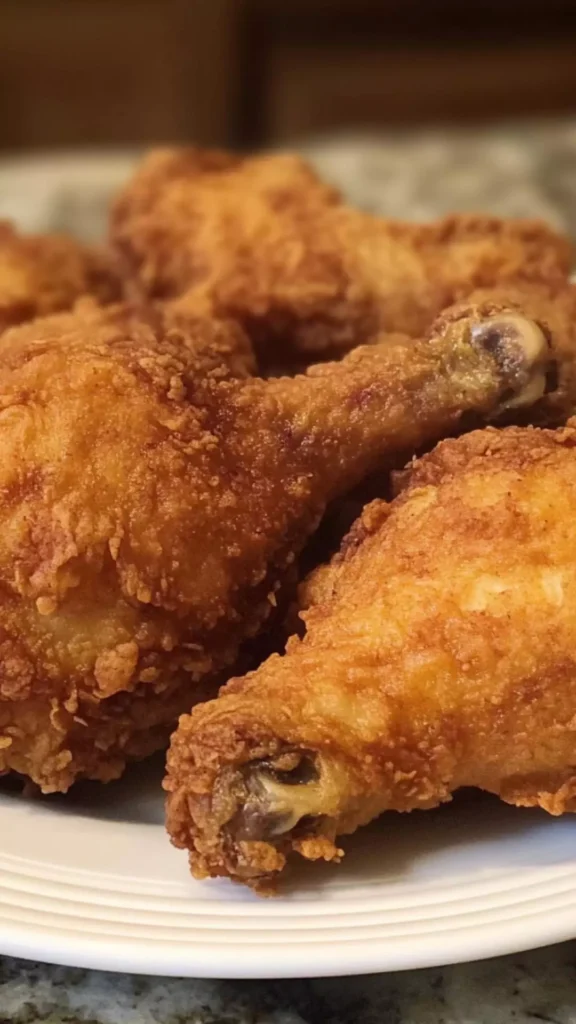
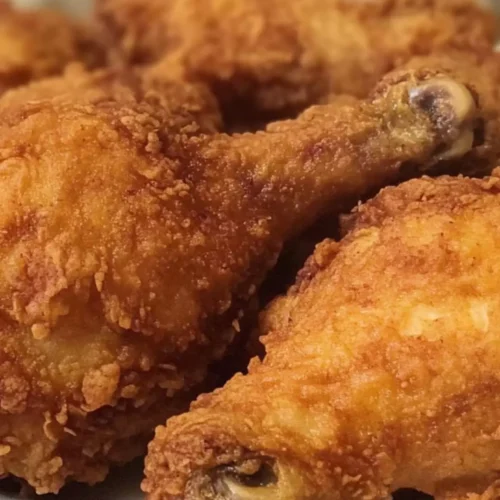
Grandma’s buttermilk fried chicken was the star of the meal. Everyone looked forward to it. The crispy, golden skin, the juicy meat inside, and that irresistible seasoning danced on my palate. Today, I want to share this cherished recipe with you—one that’s more than just a dish; it’s a piece of nostalgia passed down through generations.
What Is Grandma’s Buttermilk Fried Chicken?
At its core, grandma’s buttermilk fried chicken recipe is simple yet transformative. It elevates humble chicken to an indulgent feast. So, why buttermilk?
The tangy goodness of buttermilk tenderizes the meat, ensuring every bite is succulent. The coating, made of seasoned flour, creates an alluring crunch.
This dish marries technique with tradition. The crispy exterior, combined with the tender meat, creates a textural harmony that is nothing short of divine. It’s not just a meal; it’s an experience, a narrative woven into the fabric of family gatherings.
Why You’ll Love This Grandma’s Buttermilk Fried Chicken Recipe
Let’s dive into why this recipe is a gem. First, the flavor is undeniable. Each bite offers a zest from the blend of spices—garlic, paprika, and a hint of cayenne that sparks joy.
Here’s a fun fact: The spice blend can be customized. If you’re feeling adventurous, increase the heat or adjust the herbs to match your palate.
Next, consider the crunch. That golden crust has a satisfying crackle when you bite into it. It’s so good; it might make you dance in your chair. This dish is perfect for gatherings, as it feeds a crowd and is universally loved.
Lastly, let’s not forget the memories associated with it. Cooking can be a love language, and grandma undoubtedly poured a lot of love into this dish. Making it allows you to connect with traditions and share them with loved ones. You might even create some new memories along the way.
The Ingredients You Will Need to Make Grandma’s Buttermilk Fried Chicken
Creating this masterpiece takes some careful preparation. Here’s the list of essentials you’ll need:
- 1 (2 1/2-3 lb) broiler-fryer chicken, cut into pieces
- Buttermilk, enough to fully immerse the chicken
- 1 tablespoon butter-flavored shortening (for frying)
- 1 cup all-purpose flour
- 1 tablespoon garlic granules
- 1 teaspoon smoked paprika
- 1 teaspoon dried Italian herbs
- 1 teaspoon onion flakes
- 1/2 teaspoon light brown sugar
- 1/8 teaspoon ground chipotle powder
- 3 teaspoons seasoned salt
- 1/4 teaspoon dried basil
- 1/4 teaspoon dried thyme
- 1/4 teaspoon ground cayenne pepper
- 1/2 teaspoon celery seed
- 1/8 teaspoon herbes de Provence
- 1 1/4 teaspoons cracked black pepper
Directions
Step 1: Marinate the Chicken
Start by immersing the chicken pieces in a bowl filled with buttermilk. You’ll want to let it soak for at least 4-6 hours, preferably overnight if you can. This step is crucial. Soaking the chicken in buttermilk tenderizes the meat while infusing it with flavor. Don’t be shy to add a bit of salt to the buttermilk; it enhances the flavor even further.
Step 2: Prepare the Coating
In a separate bowl, mix together the all-purpose flour, garlic granules, smoked paprika, dried Italian herbs, onion flakes, light brown sugar, ground chipotle powder, seasoned salt, dried basil, dried thyme, ground cayenne pepper, celery seed, herbes de Provence, and cracked black pepper. Use a whisk to ensure everything is evenly dispersed. This spice mix is a game-changer, providing that crispy crust we’re all craving.
Step 3: Dredge the Chicken
Once the chicken is done soaking, remove it from the buttermilk. Allow excess liquid to drip off before dredging each piece in the seasoned flour mixture. Don’t rush this step; make sure each piece is thoroughly coated. Shake off excess flour and set aside on a rack. This ensures a thicker, crunchier coating when frying.
Step 4: Heat the Oil
In a large skillet or deep fryer, heat the butter-flavored shortening over medium-high heat. You’ll know it’s ready when a drop of water sizzles upon contact. It’s crucial to have the right oil temperature to achieve that golden-brown crust—roughly 350°F is ideal.
Step 5: Fry the Chicken
Once the oil is ready, gently add the chicken pieces, skin-side down. Fry in batches, taking care not to overcrowd the pan. Fry chicken for 12-15 minutes on one side, then carefully flip and cook for another 10-12 minutes or until golden brown and the internal temperature registers 165°F. Use a meat thermometer to check.
Step 6: Drain and Serve
After frying, place the chicken on a paper towel-lined plate to drain off excess oil. This will keep it crispy. Serve hot with your favorite sides mentioned earlier, and don’t forget a few good stories to share!
Notes
Here are some tried-and-true tips to ensure your fried chicken turns out perfectly:
- Chicken Quality: Always opt for fresh, locally sourced chicken if possible. You’ll taste the difference.
- Buttermilk Importance: Don’t skip the marinating step. It’s essential for tenderness and flavor.
- Oil Temperature: Invest in a kitchen thermometer. The right heat prevents greasy chicken and helps it crisp nicely.
- Batch Frying: Fry in batches—you want space in the pan for even cooking.
- Let It Rest: Allow the chicken to rest after frying. This helps the juices redistribute.
Storage Tips
If you’ve got leftovers (which is rare, but can happen), you can store them!
- Cool Before Storing: Make sure the chicken reaches room temperature first.
- Airtight Container: Place the fried chicken in an airtight container.
- Refrigerate: It will stay fresh for about 3-4 days.
- Reheating: For the best results, reheat in the oven to restore crispiness, aiming for 375°F for about 15 minutes.
- Freezing Option: If you want to keep it longer, you can freeze it in a freezer-safe container for up to three months. Simply thaw in the refrigerator before reheating.
Nutrition Information
Serving Suggestions
Here are some fantastic serving ideas to take your meal to the next level:
- Spicy Honey Drizzle
Add a drizzle of spicy honey on top of the chicken for a sweetness and heat mix that will make your taste buds sing. - Fresh Lemon Wedges
Squeeze fresh lemon juice over the chicken for a zesty lift. The acidity cuts through the richness perfectly. - Homemade Ranch Dip
Serve with a side of homemade ranch dressing for dipping. It adds a creamy complement that pairs beautifully. - Pickles on the Side
Nothing contrasts fried chicken like the sharp crunch of pickles. Serve dill or bread-and-butter pickles for a tangy addition. - Southern Style Gravy
Make a simple white gravy using the drippings from the pan. It’s an indulgent touch that’s always welcome.
Grandma’s Buttermilk Fried Chicken Recipe
Equipment
- Bowl
- Large skillet
- Rack
Ingredients
- 1 2 1/2-3 lb broiler-fryer chicken, cut into pieces
- Buttermilk enough to fully immerse the chicken
- 1 tablespoon butter-flavored shortening for frying
- 1 cup all-purpose flour
- 1 tablespoon garlic granules
- 1 teaspoon smoked paprika
- 1 teaspoon dried Italian herbs
- 1 teaspoon onion flakes
- 1/2 teaspoon light brown sugar
- 1/8 teaspoon ground chipotle powder
- 3 teaspoons seasoned salt
- 1/4 teaspoon dried basil
- 1/4 teaspoon dried thyme
- 1/4 teaspoon ground cayenne pepper
- 1/2 teaspoon celery seed
- 1/8 teaspoon herbes de Provence
- 1 1/4 teaspoons cracked black pepper
Instructions
- Start by immersing the chicken pieces in a bowl filled with buttermilk. You’ll want to let it soak for at least 4-6 hours, preferably overnight if you can. This step is crucial. Soaking the chicken in buttermilk tenderizes the meat while infusing it with flavor. Don’t be shy to add a bit of salt to the buttermilk; it enhances the flavor even further.
- In a separate bowl, mix together the all-purpose flour, garlic granules, smoked paprika, dried Italian herbs, onion flakes, light brown sugar, ground chipotle powder, seasoned salt, dried basil, dried thyme, ground cayenne pepper, celery seed, herbes de Provence, and cracked black pepper. Use a whisk to ensure everything is evenly dispersed. This spice mix is a game-changer, providing that crispy crust we’re all craving.
- Once the chicken is done soaking, remove it from the buttermilk. Allow excess liquid to drip off before dredging each piece in the seasoned flour mixture. Don’t rush this step; make sure each piece is thoroughly coated. Shake off excess flour and set aside on a rack. This ensures a thicker, crunchier coating when frying.
- In a large skillet or deep fryer, heat the butter-flavored shortening over medium-high heat. You’ll know it’s ready when a drop of water sizzles upon contact. It’s crucial to have the right oil temperature to achieve that golden-brown crust—roughly 350°F is ideal.
- Once the oil is ready, gently add the chicken pieces, skin-side down. Fry in batches, taking care not to overcrowd the pan. Fry chicken for 12-15 minutes on one side, then carefully flip and cook for another 10-12 minutes or until golden brown and the internal temperature registers 165°F. Use a meat thermometer to check.
- After frying, place the chicken on a paper towel-lined plate to drain off excess oil. This will keep it crispy. Serve hot with your favorite sides mentioned earlier, and don’t forget a few good stories to share!
Notes
- Chicken Quality: Always opt for fresh, locally sourced chicken if possible. You’ll taste the difference.
- Buttermilk Importance: Don’t skip the marinating step. It’s essential for tenderness and flavor.
- Oil Temperature: Invest in a kitchen thermometer. The right heat prevents greasy chicken and helps it crisp nicely.
- Batch Frying: Fry in batches—you want space in the pan for even cooking.
- Let It Rest: Allow the chicken to rest after frying. This helps the juices redistribute.
Nutrition
Common Questions
Conclusion
Grandma’s buttermilk fried chicken recipe is more than just food; it’s a tradition steeped in warmth and connection. From selecting fresh ingredients to perfecting the frying technique, every aspect adds to the story of this beloved dish.
I hope you’ll carry on this tradition in your own kitchen. Perhaps during your next family gathering or cookout? As you serve up golden, crispy pieces of chicken, don’t forget to share the stories that go hand-in-hand with it.
Cooking is not just about the meal; it’s about nurturing relationships and celebrating connections. So gather your loved ones, make a big batch, and enjoy this scrumptious fried chicken that’s rooted in love and rich in history. Bon appétit!

