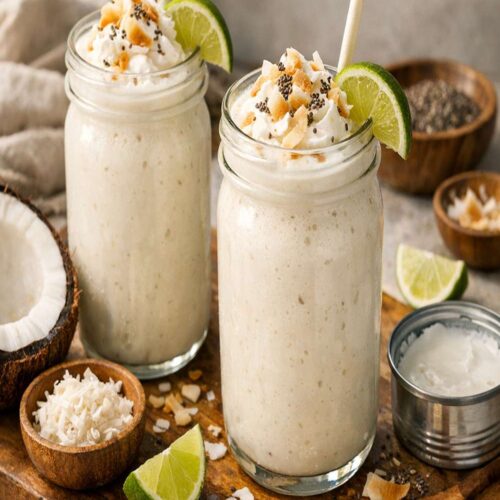
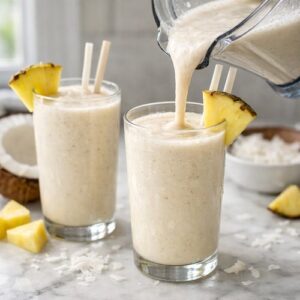
Canned Coconut Milk Smoothie Recipe
There’s something wonderfully grounding about starting your day with a smoothie that tastes more like a treat than nutrition. This canned coconut milk smoothie pairs beautifully with lighter breakfast options—I often enjoy it alongside fresh fruit or even a simple Aunt Jemima Pancakes Recipe for a more indulgent morning. The creamy coconut base makes it substantial enough to keep you satisfied for hours, which is exactly what my busy clients tell me they need.
Ingredients
- ½ cup coconut chunks frozen or fresh, unsweetened
- 2 tablespoon allulose or other liquid sweetener maple syrup, honey, or agave work beautifully
- Pinch of sea salt brightens coconut flavor without tasting salty
- 1 cup ice cubes frozen water or coconut water ice for added flavor
- 2 cup unsweetened canned coconut milk full-fat creates the silkiest texture
- 1 teaspoon pure vanilla extract optional but transforms the flavor profile
Instructions
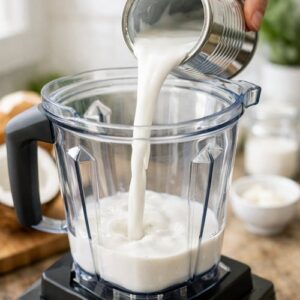
Step 1: Pour the Coconut Milk Into Your Blender
- Pour your 2 cups of canned coconut milk directly into a high-powered blender. I prefer to use a countertop blender for this recipe (like a Vitamix or Ninja) because the power matters when you’re working with frozen coconut chunks. The milk should be room temperature or slightly chilled. If you’ve refrigerated your can, that’s fine—just don’t use it straight from the freezer, as this can create an uneven blend.
Step 2: Add Your Sweetener
- Add your 2 tablespoons of sweetener directly to the coconut milk. I use allulose frequently because it blends seamlessly and doesn’t have the cooling effect some artificial sweeteners do. If you’re using maple syrup or honey, which are thicker, give them 10-15 seconds of blending on low to start breaking them down. This ensures even sweetness throughout your finished smoothie—no sweet pockets at the bottom.

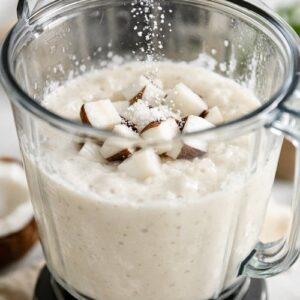
Step 3: Blend in the Coconut Chunks
- Add your ½ cup of coconut chunks and vanilla extract (if using) and a small pinch of sea salt. Blend on medium-high speed for 20-30 seconds until you don’t see any large white chunks remaining. At this point, the mixture should look creamy and pale, with a slightly thicker consistency than the original milk. You’re essentially creating a coconut butter base here.
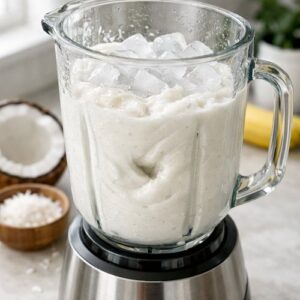
Step 4: Add Ice and Achieve Your Desired Thickness
- Now add your 1 cup of ice cubes. Start blending on high speed, and here’s where you have control: blend for 30-45 seconds for a thicker, smoothie-bowl consistency, or 45-60 seconds for a drinkable, pourable texture. If you like it thinner, add more ice. If you want it thicker, add less. Listen for when the blender sounds smooth rather than crunchy—that’s your sign the ice is fully incorporated.
Step 5: Pour and Serve Immediately
- Divide between two glasses and serve immediately. This smoothie is best enjoyed fresh. The texture will separate slightly as it sits, which is completely normal—just give it a quick stir if you’re sipping slowly. The coconut and liquid naturally want to separate; that’s the nature of working with whole ingredients rather than stabilizers.
Notes
- Make it a protein smoothie – Add 1-2 tablespoons of unsweetened coconut protein powder or vanilla plant-based protein powder without changing anything else. This transforms it into a complete meal that keeps you full for hours. I do this on mornings when I know I won’t have time for lunch.
- Create coconut milk ice cubes – Freeze leftover coconut milk in ice cube trays. Use these instead of regular ice for an even creamier, more intensely flavored smoothie. No dilution from melting ice.
- Batch blend on Sunday – Measure out your coconut milk and sweetener into mason jars (one per smoothie you plan to make). Store in the fridge for up to 4 days. When you’re ready to blend, just add frozen coconut chunks and ice. This is professional meal prep that takes 10 minutes once weekly.
- Use a high-powered blender – Regular blenders struggle with frozen coconut chunks and won’t create that silky texture. If you only have a standard blender, use thawed frozen coconut chunks or fresh coconut instead.
- Temperature matters for blending – Room-temperature liquids blend more efficiently than cold ones. If your coconut milk is very cold, the blades have to work harder and heat builds up, sometimes affecting flavor. Simple solution: let it sit on the counter while you gather other ingredients.
- The pinch of salt is non-negotiable – This isn’t about tasting salty; it’s about brightening coconut flavor. Salt suppresses bitterness and enhances sweetness. Every professional kitchen uses this technique, and it works beautifully here.
Tried this recipe?Let us know how it was!